Overview of Nesting view

In the Nesting view, you design the virtual blanks. The Nesting view consists of the following sections:
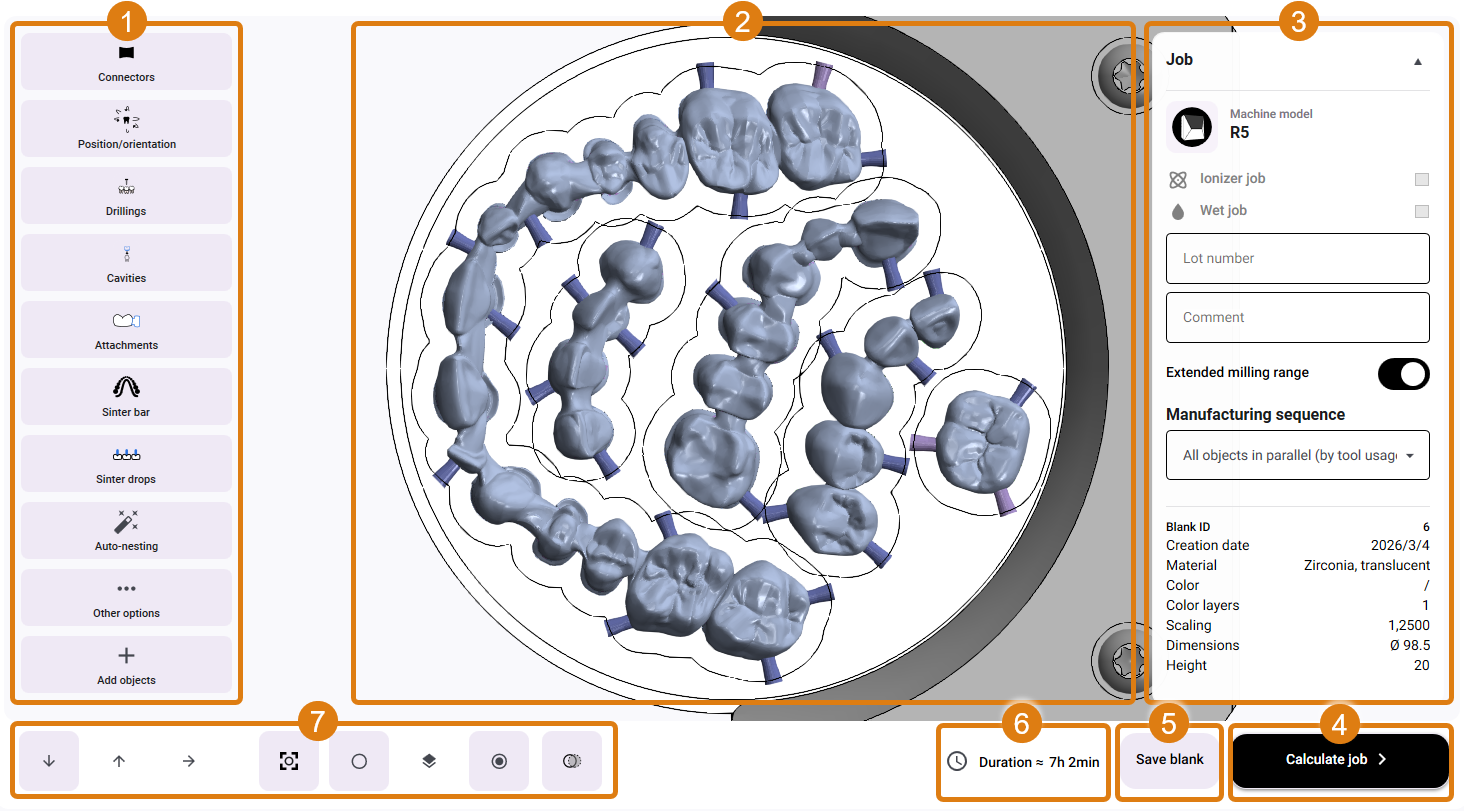
|
1 |
Editing functions |
|
2 |
Blank display |
|
3 |
Column for job settings |
|
4 |
Button: Start calculation and transfer job to dentalcnc |
|
5 |
Button: Save blank and close nesting view |
|
6 |
Estimated manufacturing time for the job |
|
7 |
Toolbar for adjusting the blank display |
Column for editing options
When you select an editing function, dentalcam displays the corresponding control elements in an additional column.
Example:
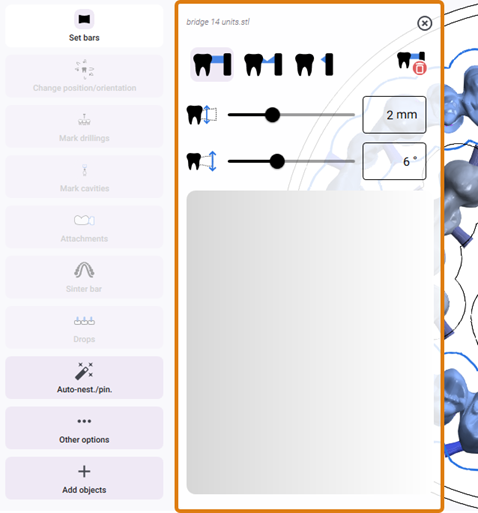
More options
The More options button displays additional object-specific settings in the editing options column.
|
Notes on this column |
|
|---|---|
|
Indication |
Cannot be changed. Any corrections require reimporting the object. |
|
Quality level |
The manufacturing quality predefined during import. For an explanation, see Quality level. |
|
Tools |
This allows you to control the use of optional tools on a per-object basis. The tools that are predefined are the ones you activated in the material settings for the current material or the parent group. Grayed-out tools are standard tools and cannot be deactivated. |
Context menu for objects
When you right-clicking on an object, dentalcam displays an object-specific context menu.
Example:
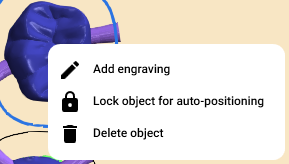
Possible actions in the context menu:
Column for job settings
The Job column provides details about the current job. You can also change settings that affect the entire job.
|
Notes on this column |
|
|---|---|
|
Machine models |
Cannot be changed. A correction requires the blank to be recreated. |
|
Extended milling range |
The extended milling range allows objects to be nested right up to the edge of the disc. This increases material utilization but reduces process reliability. |
|
Manufacturing sequence |
Predefined with the values of the material group from the program settings. See Manufacturing sequence. |


