Adding and removing engravings
Engraving allows you to add milled labeling to objects. An engraving helps you identify objects after they have been separated from the blank.

Recessed engraving (“A”) in a crown
You can set the parameters for engraving in the program settings.
Requirement You are editing a blank in the Nesting view using any objects.
-
Activate the top view with
 .
-
Right-click on the desired object.
-
From the context menu, select Add engraving to create a new engraving or Edit engraving for an existing engraving.
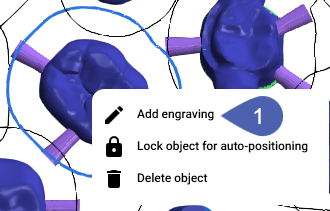
-
An input field opens.
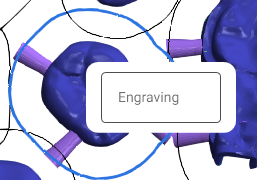
-
Select the input field.
-
To delete an existing engraving, remove all characters.
-
To add new or modified engraving, enter the text.
-
Press the Enter key.
-
The input field closes.
-
Check whether all characters are on the object. Characters outside of objects will not be milled.


