Rotating and moving objects along all axes
Use the Change position/orientation editing function to rotate and move objects along all axes. Unlike the quick move and rotate functions in the top view, this feature is primarily used to rotate objects around the X- and Y-axes and to move them along the Z-axis.
Prerequisites
-
You are editing a blank in the Nesting view using appropriate objects.
-
No connectors have been set up for this object yet. When you activate this function, dentalcam offers to remove all connectors.
-
If you want to use the extended milling range:
-
Expand the Job column.
-
Activate the Extended milling area toggle switch.
The extended milling range allows objects to be nested right up to the edge of the disc. This increases material utilization but reduces process reliability.

-
-
Activate the top view with
 .
-
Select the desired object in the blank display.
-
Open the
 Change alignment/position editing function.
-
The corresponding options appear in the editing options column.
-
Red arrows
-
X-axis
-
Green arrows
-
Y-axis
-
Blue arrows
-
Z-axis
-
Recommendation: To get a better view of the object, hide the blank with the
 icon.
-
Hold down the left mouse button and drag the arrows.
-
Curved arrows: Object rotates.
-
Straight arrows: Object is being moved.
-
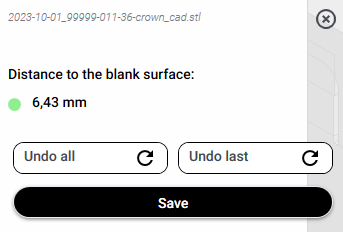
Check the color indicator next to the Distance to blank surface label. dentalcam updates the color indicator continuously while the object is moved.
Green
Yellow
Red
The distance between the object and the blank surfaces is sufficient.
Parts of the object are barely far enough away from the blank surfaces.
Watch the display while moving or rotating an object.
Parts of the object are too close to one of the blank surfaces or extend beyond it.
Move the object toward the center of the blank or rotate it until the display changes.
-
Save your changes by clicking the Save button.
-
If the object is too close to the edge of the blank or to other objects, dentalcam displays lightning bolt icons at the corresponding location. This requires a correction of the position.
dentalcam switches to the side view in the blank display and displays arrows on the selected object.
For prefabricated abutments, the maneuvering options are limited to rotation around the X-axis.
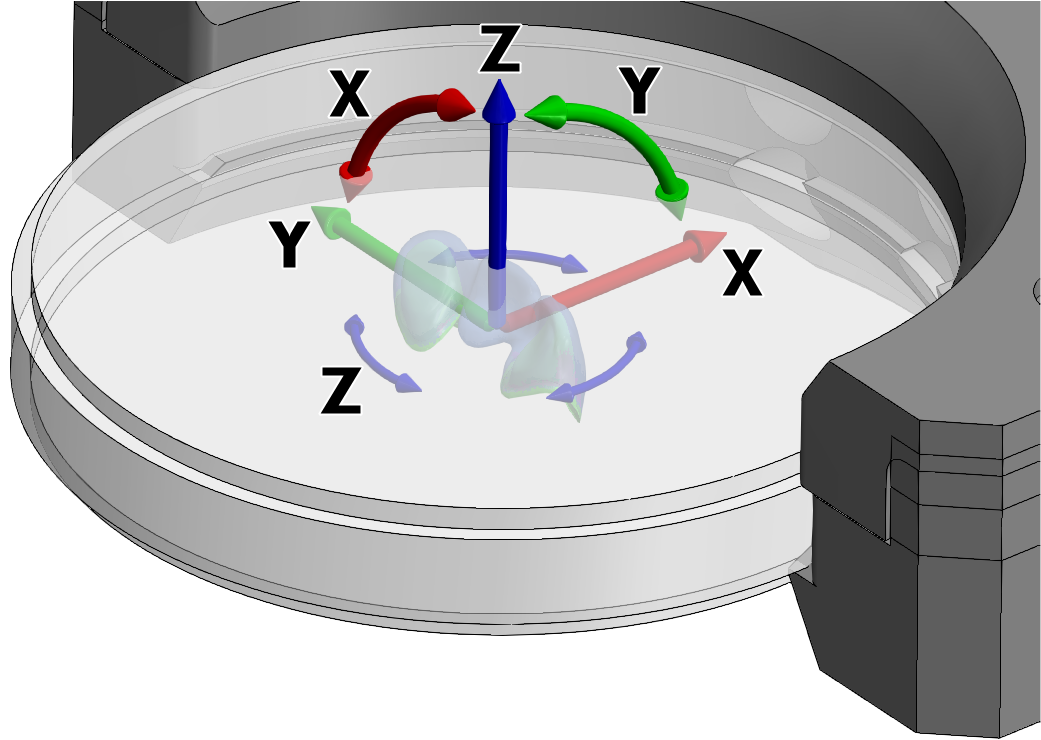
Object in disc with all maneuvering options
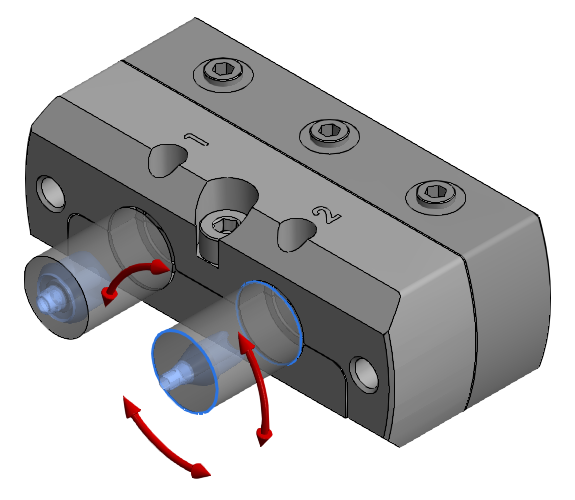
Prefabricated abutments limited to rotation around the X axis


