Editing functions in the nesting view
With the editing functions for individual objects, you can edit specific parameters (orientation, cavities, etc.) of individual objects in your blank.
-
You can edit 1 object at a time.
-
You can select an object for editing via the object list.
The editing functions are only available for objects without bars.
- Open the Nesting view for adjusting objects with the following icon in the main toolbar:


The editing functions
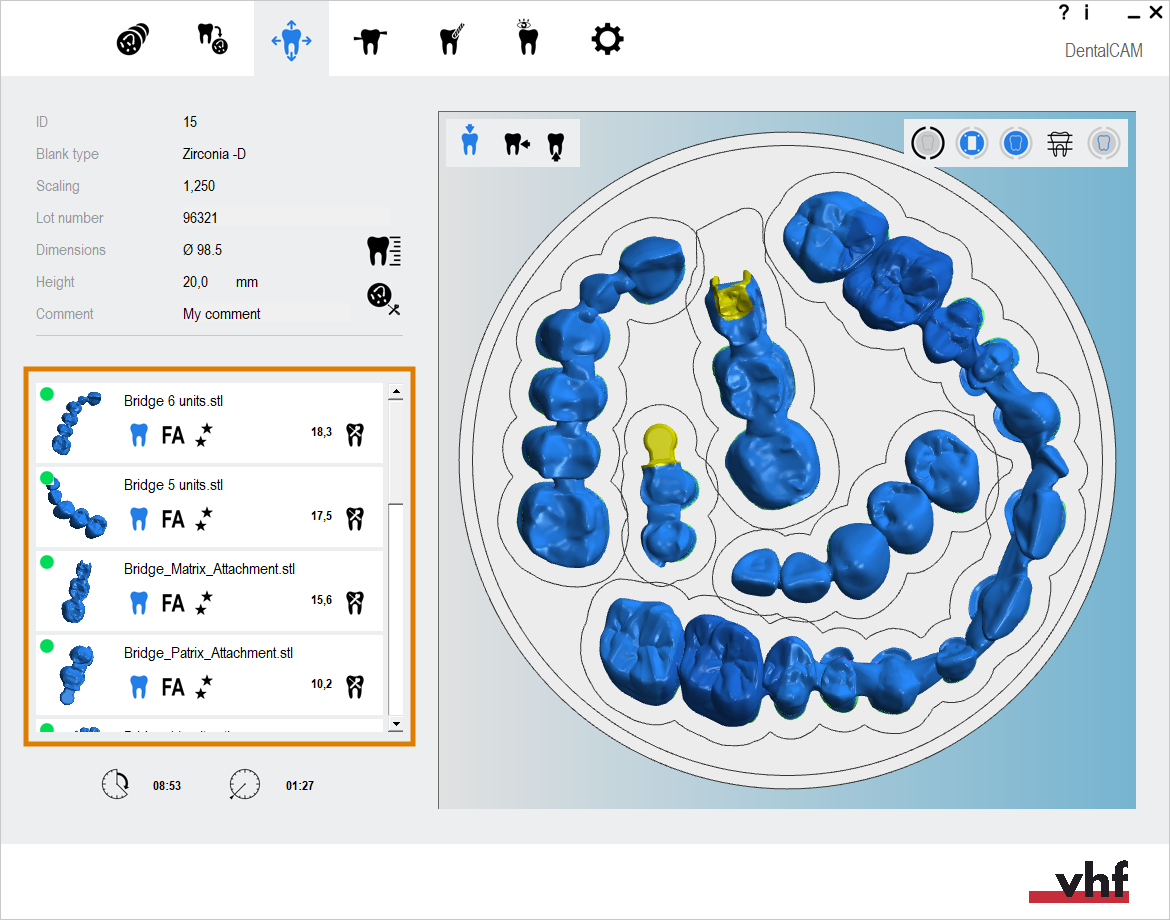
The object list in the nesting view for adjusting objects
Further information on the object list: Changing the status of objects / deleting objects
How to open the editing functions
-
(Optional) Select the desired object in the blank display.
-
DentalCAM highlights the object in the object list with a colored border.
-
Open the editing functions for the required object by selecting the following icon in the left column:

-
The icon bar for the editing functions is displayed.

How to save or discard changes made with the editing functions
When you have opened an editing function, 2 sections display in the left column:
- The icon bar for the editing functions (upper section)
- The control elements for the currently selected editing function (lower section)

Example: Upper section (marked orange) and lower section (marked blue) of an open editing function
Saving your changes
-
Save your changes with the lower arrow icon:

- DentalCAM saves your changes. The lower section no longer displays.
-
Close the area for the editing function with the upper arrow icon:
Example: Icon to save your changes made with the editing functions (marked orange)

Icon to close the editing functions (marked orange)
Discarding your changes
- Discard your changes by selecting the following icon in the lower section:

- DentalCAM discards your changes. The lower section no longer displays.
-
Close the area for the editing function with the upper arrow icon:
Example: Icon to discard your changes made with the editing functions (marked orange)
Icon to close the editing functions (marked orange)