Rules and recommendations for positioning objects
This procedure belongs to step 1 of the simple nesting workflow.
This procedure belongs to step 4 of the complete nesting workflow.
When positioning objects during nesting, you need to make sure that the design of your blank helps to achieve good machining results. This Help article lists the Do’s and Don’ts of positioning objects in blocks and discs.
In addition to the rules below, we also provide the following machining guides for specific materials:
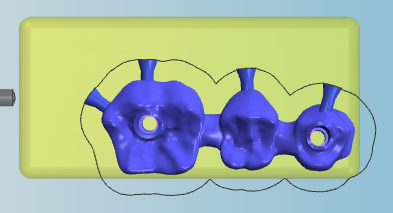
- Open the Nesting view for adjusting objects with the following icon in the main toolbar:

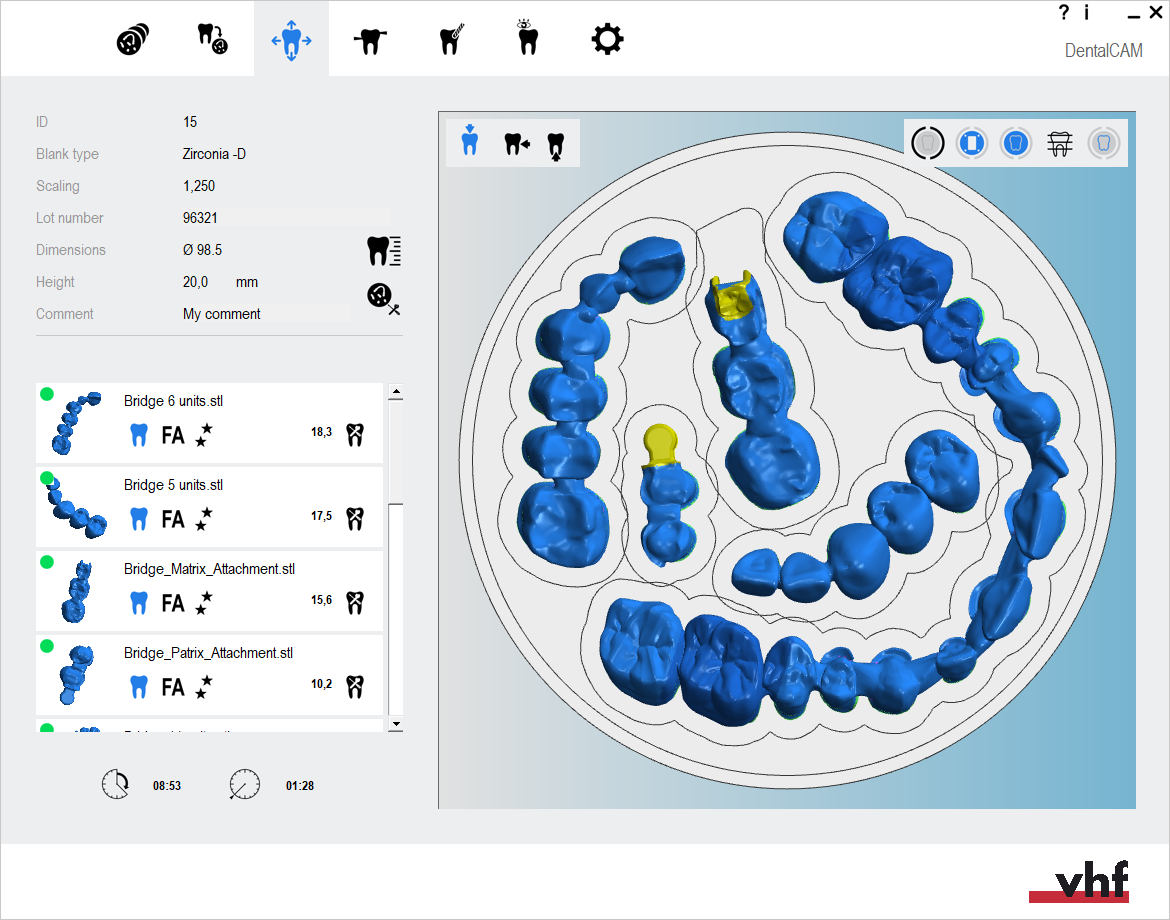
The nesting view for adjusting objects
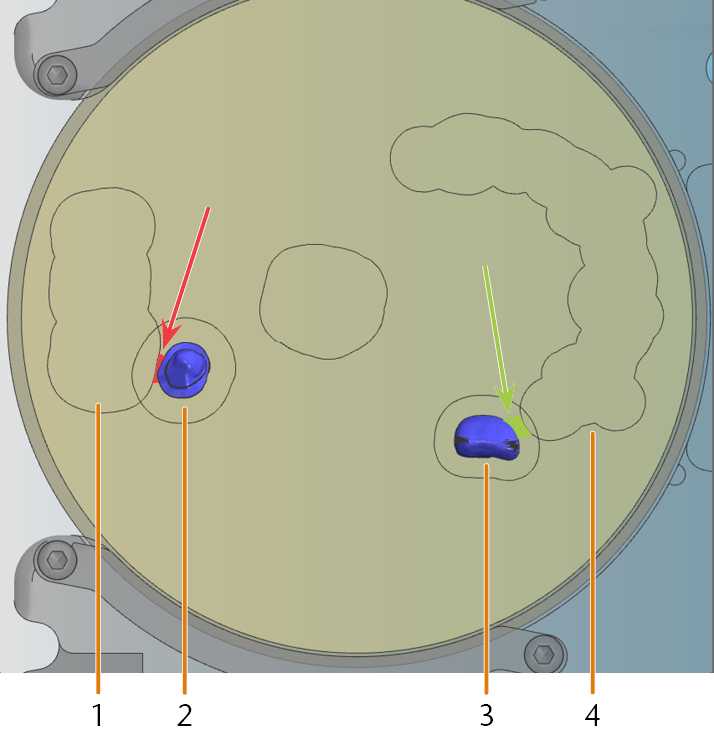
Guidelines for positioning objects in discs
The following guidelines are intended to make working with discs more process reliable.
-
If you use a machine whose blank holder doesn’t fully enclose the discs, start nesting objects on the left side.
Once you have filled the left side of the disc, continue on the right side. Removing too much material in the area where the disc is enclosed will cause the disc to become unstable and get damaged.
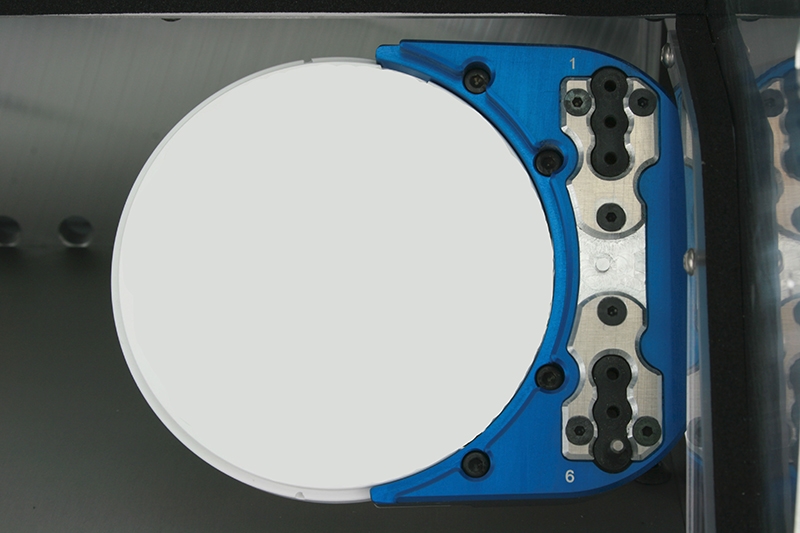
Example of a not fully enclosed disc
Correct distribution of objects
Wrong distributon of objects
-
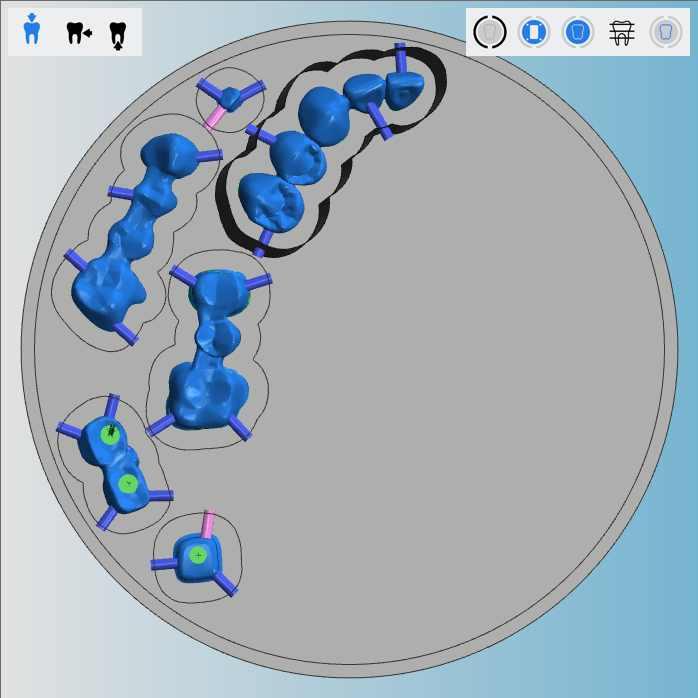
If you add objects to already used discs, leave enough space between the new objects and machined areas.
This is especially important if you have removed the disc from the machine and re-inserted it again. If the new objects lie too close to the machined areas, the slightest deviation from the original orientation of the disc (we're talking here about deviations of 0.5°) can result in the object not being machined correctly.
We understand that you want to use your discs as economically as possible, but leaving more space between objects and machined areas can be the safer and, in the end, more cost effective choice.
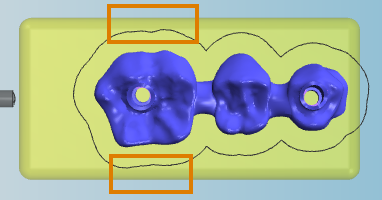
Example:
A good and a bad example for overlapping objects with machined areas
- Machined area which is overlapping with object [2]
- New object whose workspace is overlapping with machined area [1]
- New object whose workspace is overlapping with machined area [4]
- Machined area which is overlapping with object [3]
The depicted blank has 2 areas (marked red / green) where the workspace of new objects overlap with machined areas.
Red marking
- Overlapping area that can cause problems if the disc is not re-inserted exactly with its original orientation
- Note that the object is very close to the machined area
Green marking
- Overlapping area that causes fewer problems
- Note that there is more space between the object and the machined area
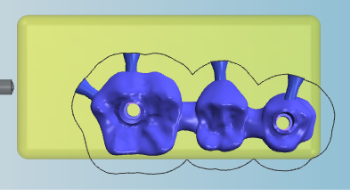
How to position large multi-unit objects in blocks without the placement aid
Some multi-unit-objects are so large that it is difficult to properly position them in a block because there is too little material left outside of the workspace to set stable bars. In these cases you can try positioning the objects manually.
The left side of the following object is too large to be positioned in the center of the selected block type; the workspace border around the unit would lie so close to the border of the block that bars would hardly be stable. Here you need to manually position the object without the placement aid:
Orange markings: The material thickness is too low in some locations to place stable bars
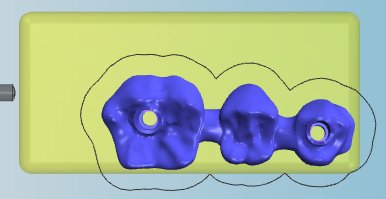
- Drag the object onto the desired block.
- Deactivate the placement aid by selecting the corresponding icon in the top left corner of the blank display:
- Placement aid is deactivated:

- Placement aid is activated:

- Rotate the object so that it lies as horizontally as possible in the block.
- Move the object into the opposite direction of the mandril and into the lower half of the block. Move the object very close to the lower border of the blank.
- Set bars for the object. Place them at the left and upper side of the object.
- During and after machining, the object will be kept in place by the stable bars at the left and upper side of the object.
The object with bars
Icon bar with the icon that displays that the placement aid is activated (marked orange)
Moving the object into proper position
What's next?
If you need to delete objects or change their machining status:
Changing the status of objects / deleting objects
Next general step for adjusting objects: