Commissioning

The installation steps up to operation are:
Step 1: Starting the machine
Short-circuit hazard when the machine is too cold
If the machine is transported from a cold environment into a warmer environment, a short circuit may occur caused by condensate.
- Before switching on the machine after transportation, ensure the following:
- The ambient air has the allowed temperature.
- The machine has the same temperature as the ambient air. This will take at least 48 hours.
- The machine is completely dry.
-
Switch on the machine at the main power switch.
The working chamber lighting is on. The machine references.
Step 2: Setting up a software connection to the machine
(missing or bad snippet)Step 3: Removing the transport lock
Short-circuit hazard when the machine is too cold
If the machine is transported from a cold environment into a warmer environment, a short circuit may occur caused by condensate.
- Before switching on the machine after transportation, ensure the following:
- The ambient air has the allowed temperature.
- The machine has the same temperature as the ambient air. This will take at least 48 hours.
- The machine is completely dry.
Before operating the machine for the first time, you must remove the transport lock in the working chamber. The transport lock prevents the spindle from getting damaged during transport.
- Ensure the following:
- The network connection to your machine has been properly configured.
- The machine is connected to the electrical source.
- Switch on the machine at the main power switch.
- Start dentalcnc. Wait until the connection to the machine has been established.
- The machine references.

- Remove the transport lock as shown in the supplement.
Step 4: Removing the protective film
At delivery, the following pieces of protective film are attached to the machine:
- 2 on the front machine housing
- 1 on the working chamber door
- 1 on the top cover
- 4 in the multi-purpose drawer
- Before machine installation, carefully peel the protective film off the machine with your hands.
Step 5: Checking the tool magazines in the multi-purpose drawer
After removing the transport lock, open the multi-purpose drawer and check the tool magazines.
 To open the multi-purpose compartment, select the depicted icon in dentalcnc.
- After a couple of seconds, the drawer will move slightly forward.
- Pull the drawer open.
- Remove all pieces of the protective film.
- Remove the transport protection cover from the tool magazines.
- Verify that there are 5 tool magazines with different color codes in the drawer.
- To close the multi-purpose drawer, push it until it locks back in place.
- You will hear a clicking sound.
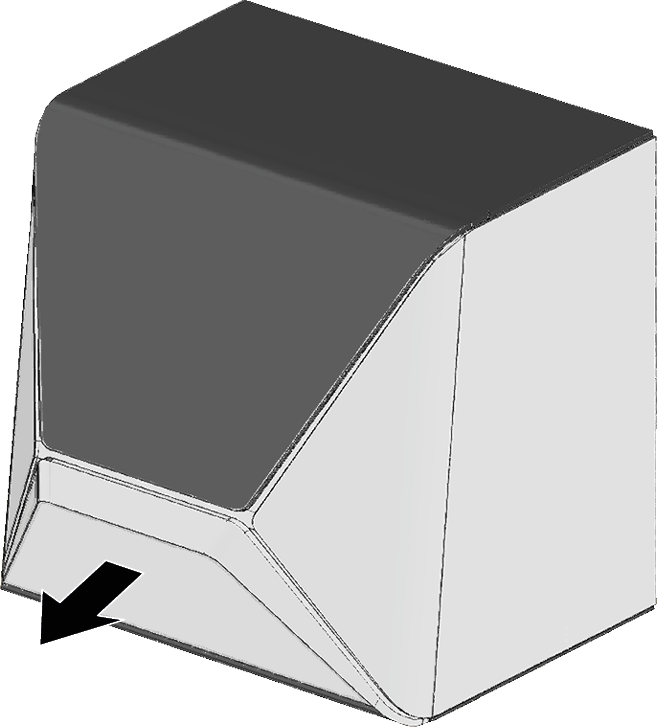
More information on tool magazines and tool management: Managing tools
Step 6: Warming up the spindle
What's next?
If you want to create a job in dentalcam:
If you want to edit a job:


