Starting, interrupting, canceling jobs
Watch the video

YouTube video – When viewing this video, personal data is sent to YouTube, LLC, USA. Privacy statement
The workflow for restoration is as follows:
→
→
→
→
You control and start manufacturing with DentalCNC. In this chapter, we will give you a brief overview. For the complete instructions, see the documentation for DentalCNC.
Starting jobs
- Ensure the following:
-
 The computer that is connected to your machine and which runs DentalCAM and DentalCNC..
 - The tool magazine is inserted in the working chamber.
- All required tools are in the right positions in the tool magazine and are neither worn nor damaged.
- The required blank is mounted.
- For wet machining: The cooling liquid tank is inserted.
- For dry machining: The dry tank is inserted.
- Close the working chamber door.
-
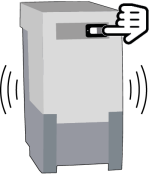
If you manually control the suction unit, switch it on and set it to the required level.
-
Proceed as follows:
 Start machining via the depicted icon in DentalCNC.
or
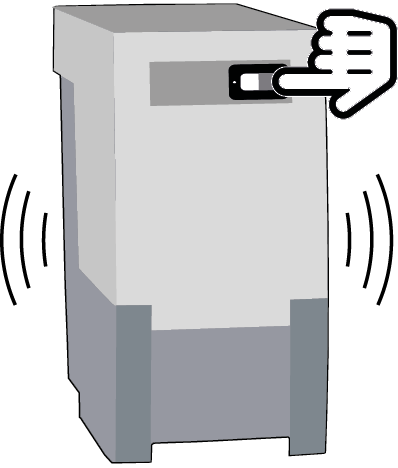
 Start the job with the start button.
 -
The suction unit is running.
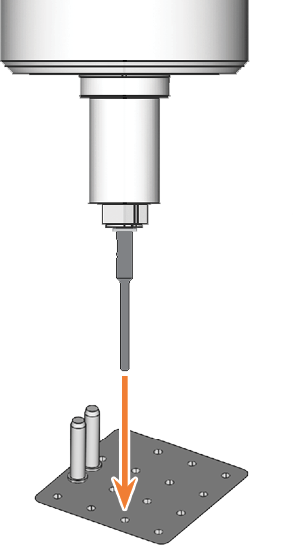
Machining starts.


Interrupt and continue machining
Interrupting the machining process
-
Press the Start button.
-
DentalCNC interrupts the machining. A dialog window opens.
You can open the working chamber door.
-
Recommendation: Leave the blank in the holder.
Continuing the machining process
-
Close the working chamber door.
-
 DentalCNC: Confirm the current message.
Aborting machining
-
 DentalCNC: Select the depicted icon.
 - Confirm the current message.
- The following happens:
- Machining stops immediately.
-
DentalCNC asks whether the tool in the spindle can be safely inserted into the tool magazine.
If inserting the tool would damage the tool magazine inserts, the tool must be removed manually.
-
Select one of the following icons:

Automatically place the tool in the tool magazine

Remove the tool manually from the collet chuck
-
If you want the machine to automatically put the tool into the tool magazine, confirm the dialog.
If you want to remove the tool manually from the collet chuck, answer the question in the negative.
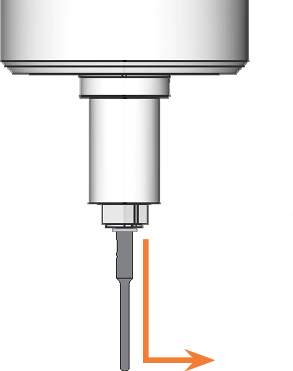
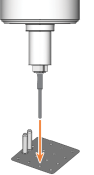
- If the spindle has moved into the tool change position, continue with the next step.
-
CAUTION!Wear gloves.
- Open the working chamber door.
-
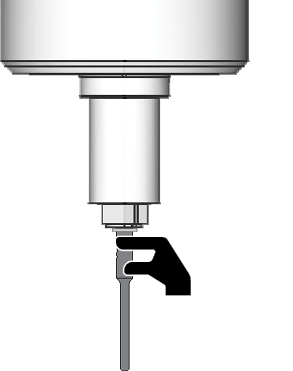
Hold the tool in the collet chuck in place.
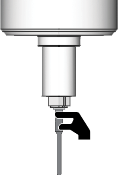
- Confirm the current message.
- The collet chuck opens.
- Remove the tool from the collet chuck.
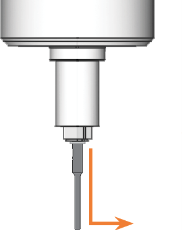
- Close the working chamber door.
- Confirm the current message.
- The following happens:
- The collet chuck closes.
- The spindle moves to its default position.