Removing machined areas
This procedure does not belong to the simple nesting workflow.
This procedure belongs to step 1 of the complete nesting workflow.
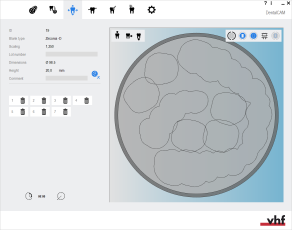
Machined areas in dentalcam represent the parts of a used blank that have already been milled or ground out (the ‘holes’ that are left after the objects were separated from the blank). They display both for discs as well as blocks, but as blocks are hardly ever re-used, they are almost only important for discs.
You cannot position objects in machined areas.
You may need to remove machined areas from the blank in dentalcam for the following reasons:
- You want to use a new physical blank to machine objects which you added to an existing job in dentalcam.
- In case you never machined the job and therefore the blank has no milled or ground out areas.
In these cases, the blank in dentalcam with its machined areas does not represent the fully intact blank that you want to use.
Make sure that the lot number which is stored for the job in dentalcam is still correct. You can edit the lot number in the nesting view.
- Open the Nesting view for adjusting objects with the following icon in the main icon bar:

How to delete machined areas:
- Select the following icon:

- dentalcam displays a list of all machined areas in the left column.
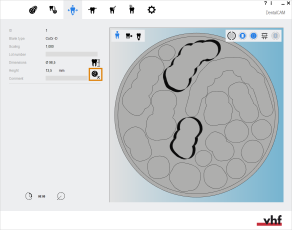
- To find the desired machined area in the list, tilt the view on the blank display and select the area border.
- dentalcam marks the selected machined area in the list with a blue border.
- To delete the machined area, select the following icon:

- The icon gets highlighted. dentalcam deletes the selected machined area and updates the blank display accordingly.
- To undo the deletion, select the highlighted icon:

- Repeat steps 2 and 3 for all machined areas that you want to delete.
- To save your changes, select the following icon:

- dentalcam removes the selected machined areas from the blank.

A list of all machined areas in the blank
What's next?
If you need to delete objects or change their machining status:
Changing the status of objects / deleting objects
Next general step for adjusting objects:


