Warming the spindle
When initially starting a machine or if it has not been used for at least 2 weeks, you must warm up the spindle before use.
-
Open the DentalCNC Application settings with the following icon in the main icon bar:

-
Open the Machine maintenance view with the following icon in the local icon bar:

-
Select the following icon:

-
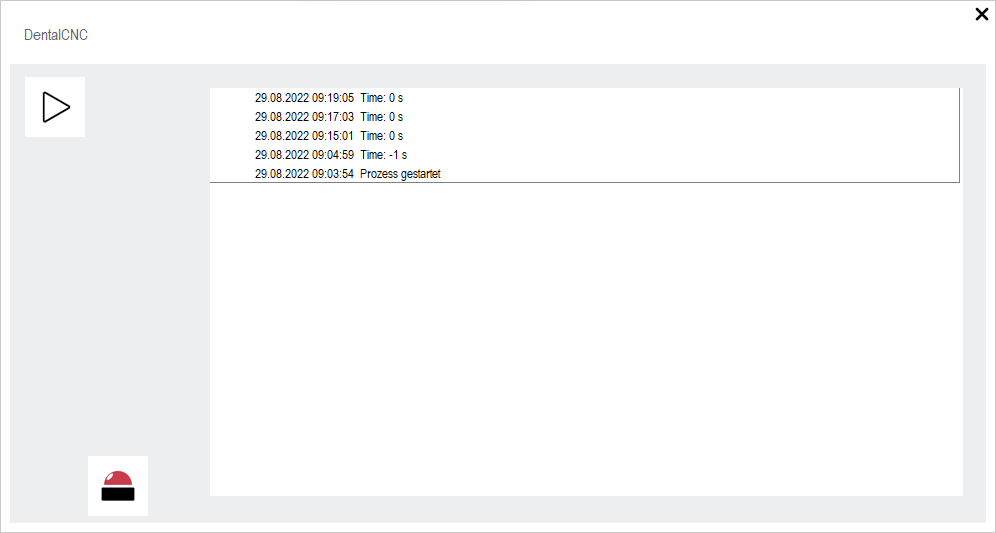
A window opens.

-

![]()
The Machine maintenance view; icon for the spindle warm-up process marked in orange
-
Select the following icon:

-
If your machine is equipped with an automatic working chamber door, the door automatically opens.
-
If your machine is equipped with a manual working chamber door, open the door.
-
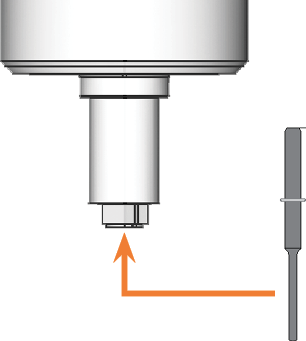
CAUTION!Wear gloves.
- If there is a tool in the collet chuck of the spindle, hold it in place.
- Confirm the current message.
- The collet chuck opens.
- If present, remove the tool from the collet chuck.
-
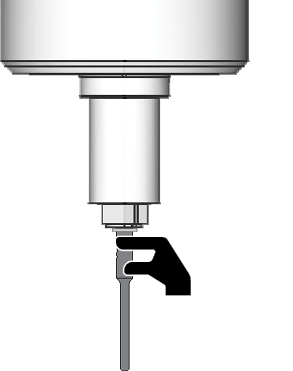
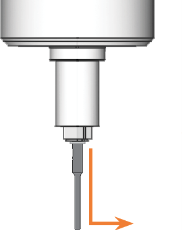
Keep a tool or measuring pin at the ready.
- Insert the tool into the collet chuck and hold it in place. Be sure to insert the tool until the tool ring reaches the tip of the collet chuck.
- Confirm the current message.
-
The collet chuck closes. You can release the tool.
- If your machine is equipped with a manual working chamber door, close the door.
- Confirm the current message.
-
The following happens:
- If your machine is equipped with an automatic working chamber door, the door automatically closes.
-
The spindle warms up.
-
A dialog window opens.
-
If your machine is equipped with an automatic working chamber door, the door automatically opens.
-
If your machine is equipped with a manual working chamber door, open the door.
-
CAUTION!Wear gloves.
-
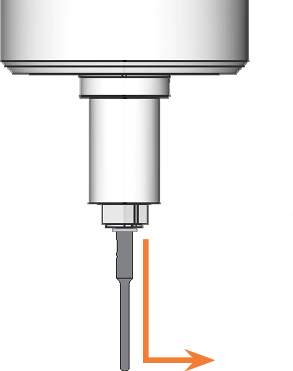
Hold the tool in the collet chuck in place.
- Confirm the current message.
- The collet chuck opens.
- Remove the tool from the collet chuck.
-
Confirm the current message.
-
The window displays the log of the warm-up process.

-
Close the window using the following icon: