Tasks to do during machining
How can I abort machining? Can I continue a job? How do I check cavities during machining of secondary crowns?
While machining usually works fully automatically, there are some tasks which require your interference.
Handling broken tools
If a tool breaks during machining, the machine will not recognize this immediately. Instead, the spindle will continue to move with the broken tool. The tool breakage will be recognized upon the following events:
- The next regular tool change
A tool breakage can be caused by the following:
- The tool was damaged or worn
- The tool was put into the wrong tool position or was manually inserted into the spindle at the wrong time. As a consequence, it was not suitable for the processing step.
- The distribution of the objects in the blank (“nesting”) was not correct.
If a tool breaks, do the following:
- Open the working chamber door.
- Remove all parts of the broken tool from the working chamber and the collet chuck.
- Re-add the tool to the virtual ATB and virtual tool magazine in DentalCNC.
- If the spindle picked up the tool from the tool magazine, check if the tool was inserted into the correct position. Insert a spare tool into the correct position in the tool magazine.
- If you manually inserted the tool into the collet chuck, check if the broken tool corresponds to the tool type which you were prompted to insert. Have a correct spare tool ready.
- Close the working chamber door.
- Resume the job.
Aborting and resuming/restarting machining
Aborting machining
-
Select one of the following icons:

Abort machining immediately

Abort machining after the current job (only when using the blank changer
 Machine component which stores multiple blanks in a magazine and which can automatically load them into the working chamber.. When using the search, use a blank changer or a blank magazine instead)
 - Confirm the current message.
- The following happens:
- Machining stops according to your selection.
-
DentalCNC asks whether the tool in the spindle can be safely inserted into the tool magazine.
If inserting the tool would damage the tool magazine inserts, the tool must be removed manually.
-
Select one of the following icons:

Automatically place the tool in the tool magazine

Remove the tool manually from the collet chuck
-
If you want the machine to automatically put the tool into the tool magazine, confirm the dialog.
If you want to remove the tool manually from the collet chuck, answer the question in the negative.
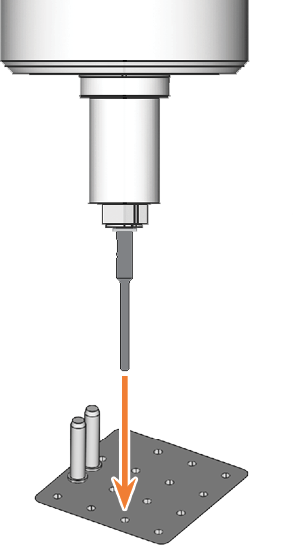
- If the spindle has moved into the tool change position, continue with the next step.
-
CAUTION!Wear gloves.
- Open the working chamber door.
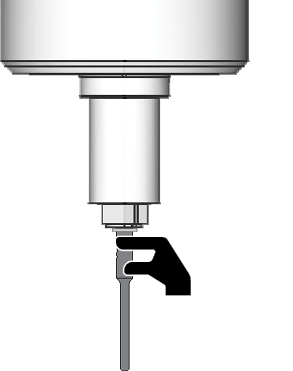
-
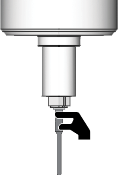
Hold the tool in the collet chuck in place.
- Confirm the current message.
- The collet chuck opens.
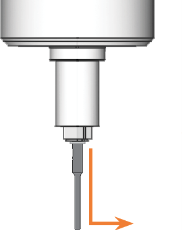
- Remove the tool from the collet chuck.
- Close the working chamber door.
- Confirm the current message.
- The following happens:
- The collet chuck closes.
- If your machine is equipped with an automatic working chamber door, the door automatically closes.
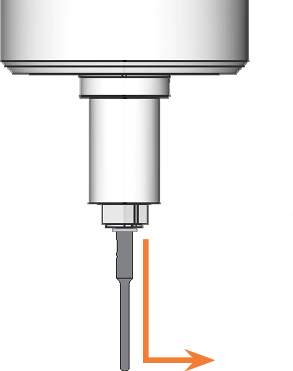
- The spindle moves to its default position.
Resuming or restarting jobs
If you have aborted machining of a job, you can resume or restart the job as follows:
- Start the job as usual.
- A dialog window opens. DentalCNC prompts you whether to resume or restart the job.
-
If you want to resume the job from the last machining step, select Resume from last machining step. Select this option if the blank was machined optimally up to the point where it was canceled.
If the job was aborted due to a tool breakage, this option is not available. As the exact time that the tool broke is unknown, you can only resume the job from the last tool change.
- If you want to resume the job after a tool breakage or if the tool was worn so that not all material was removed, select Resume from last tool change. In this case, all machining steps requiring the last tool type will be performed again.
- If you want to manufacture the whole job again, select Restart.
- Select the following icon:

- The current dialog window closes. Depending on your choice, machining will either be resumed or restarted.
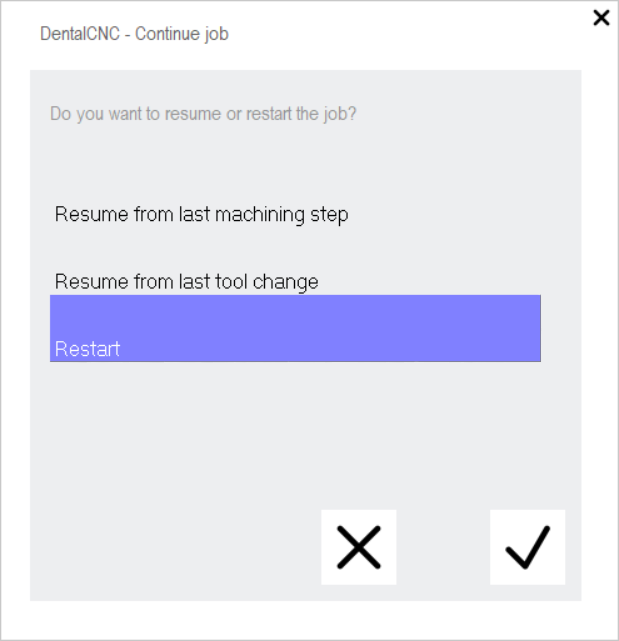
The window for resuming or restarting machining
Changing tools manually during machining
If you have forced a manual tool change for at least 1 tool magazine position, you need to manually insert the corresponding tools into the collet chuck.
- prompts you to insert the tool as soon as it is required to continue machining.
- If your machine is equipped with an automatic working chamber door, the door automatically opens.
- Have the required tool readily available. Compare the match code which displays to the match code of the tool.
- If your machine is equipped with a manual working chamber door, open the door.
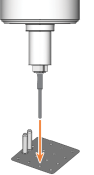
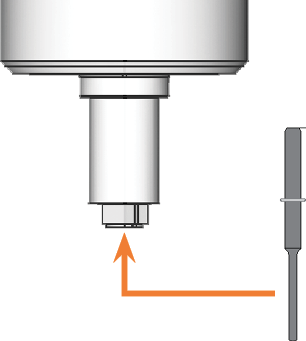
- Insert the tool into the collet chuck and hold it in place. Be sure to insert the tool until the tool ring reaches the tip of the collet chuck.
- Confirm the current message.
-
The collet chuck closes. You can release the tool.
- If your machine is equipped with a manual working chamber door, close the door.
- Confirm the current message.
- The following happens:
- If your machine is equipped with an automatic working chamber door, the door automatically closes.
- Machining continues.
Checking and reworking cavities during machining
If you have activated the Manually check cavities during machining option in the DentalCAM settings for the current blank type, DentalCNC will interrupt machining after every cavity, turn the blank so that you can check the cavity and open the following window:
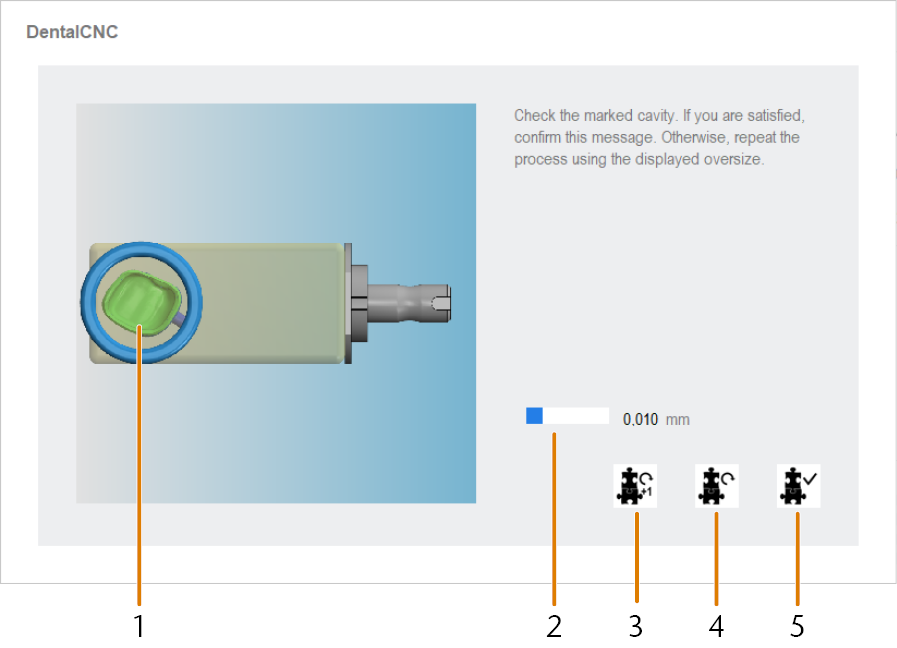
The window for checking cavities during job execution
-
Cavity under inspection
-
Predetermined value by which the cavity will be enlarged if it is reworked
-
Icon to rework the cavity with an enlarged geometry
-
Icon to mill out or grind out the cavity again with the same size
-
Icon to finish inspecting the current cavity and continue machining
- Check the cavity that is marked with a circle in the current window and decide whether it needs reworking.
-
If you want to enlarge the cavity by the value that displays in the current window, select the following icon:
 .
.The value is predetermined for every blank type and cannot be changed.
- If you want to mill out or grind out the cavity with the same size, select the following icon:

- If you are finished with inspecting and reworking the current cavity, select the following icon:

Viewing the log file
writes each step during machining into a log. The log displays in the application settings.
-
Open the DentalCNC Application settings with the following icon in the main icon bar:

-
Open the Log with the following icon in the local icon bar:

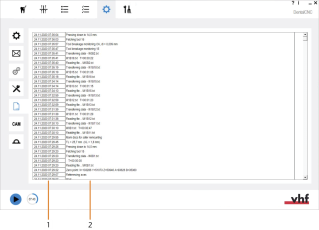
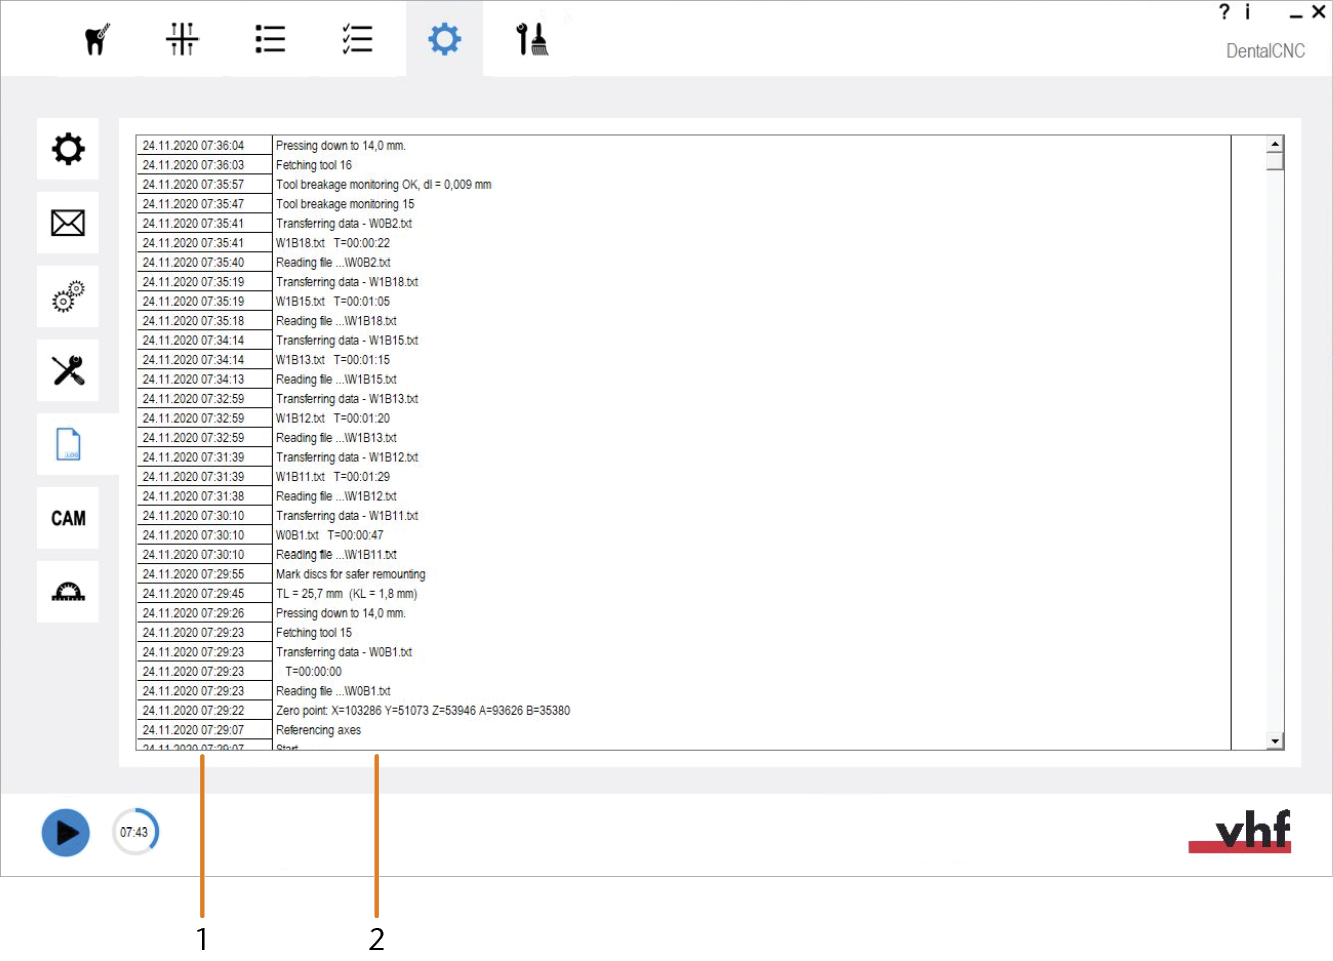
The Log
-
Date and time for each log entry
-
Log entries
-