Importing a dentalcam 8 blank archive
Users upgrading from dentalcam 8 can import discs from their dentalcam 8 installation into dentalcam 9. It is not possible to import blocks and prefabricated abutments.
Prerequisites
-
You do not need dentalcam 8 and dentalcam 9 while the import is in progress. Depending on the size of the archive and the data transfer rate, the import may take more than 1 hour.
-
There is enough storage space available on the drive where dentalcam 9 is installed. After the import, the data takes up many times the original amount of storage space.
-
Open dentalcam 8.
-
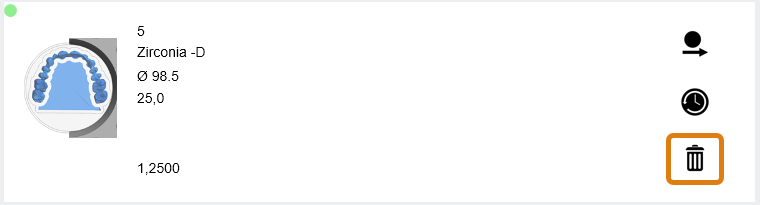
Recommendation: Delete all discs you no longer need from the dentalcam 8 blank archive with the following icon:

The fewer discs you import, the less time the import process will require.
-
Locate the storage location of your dentalcam 8 blank archive:
- Open the dentalcamapplication settings window with the following icon in the main icon bar:

- Open the View for general settings with the following icon in the program settings icon bar:

-
Copy the folder path in the Archive folder input field to the clipboard.
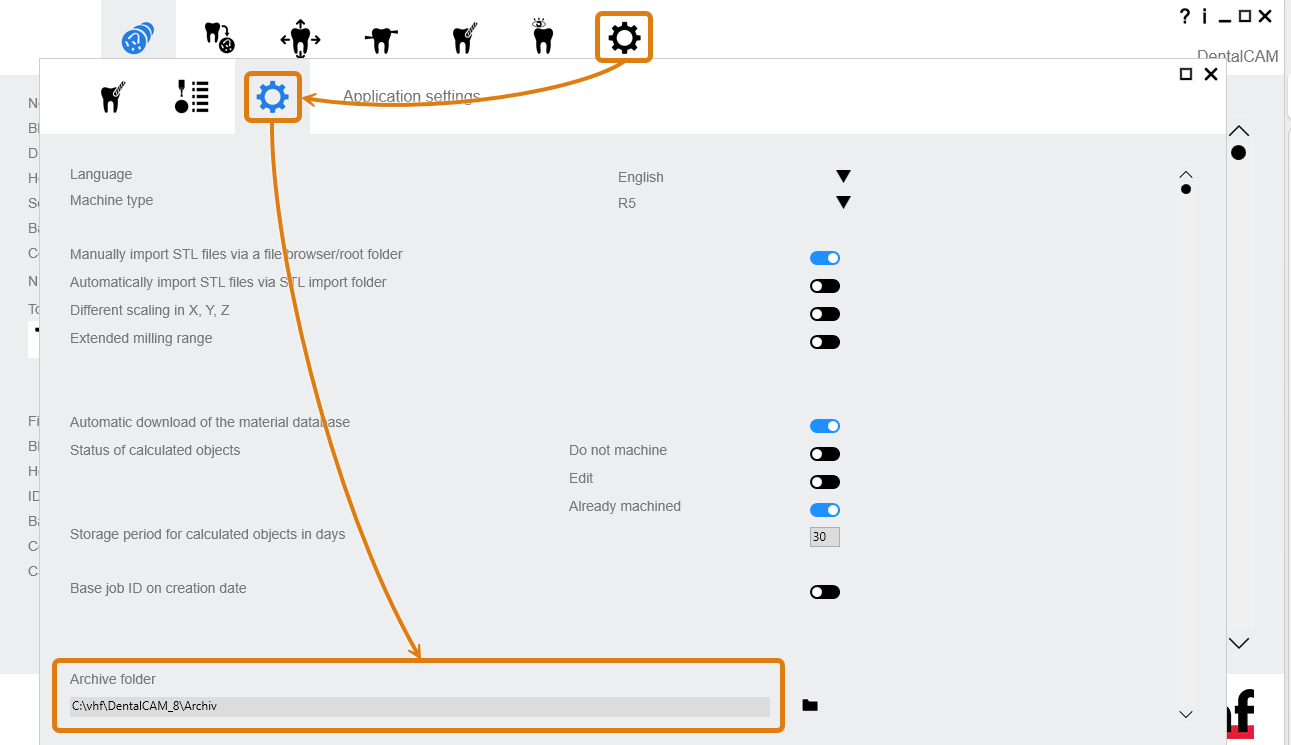
- Open the dentalcamapplication settings window with the following icon in the main icon bar:
-
Close dentalcam 8 and leave it closed until the import is complete.
-
Open dentalcam 9.
-
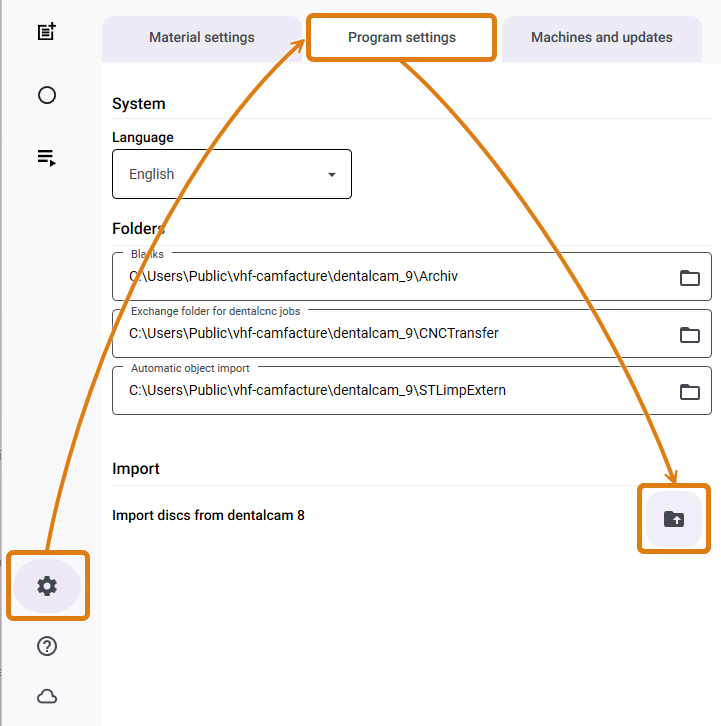
Open the dentalcam settings with the following icon in thesystem menu:

-
Select the Program settings tab.
-
In the Import section, select the following icon:

-
A file browser opens.
-
Add the folder path to the dentalcam 8 archive from the clipboard into the top input field.
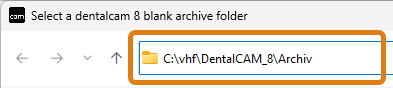
Alternative: Navigate to the directory.
Default directory structure: C:\<OEM name>\<CAM name>\Archive
Example: C:\vhf\DentalCAM_8\Archive
-
Select the Select folder button.
-
dentalcam imports the data. After the process is complete, the program displays the number of discs imported.


