Importing objects
To import objects, select supported file types and specify the necessary manufacturing parameters. Using metadata from the CAD application can significantly speed up the import process.
Prerequisites
-
You have exported objects from your CAD application.
-
For prefabricated abutments: Metadata is available.
-
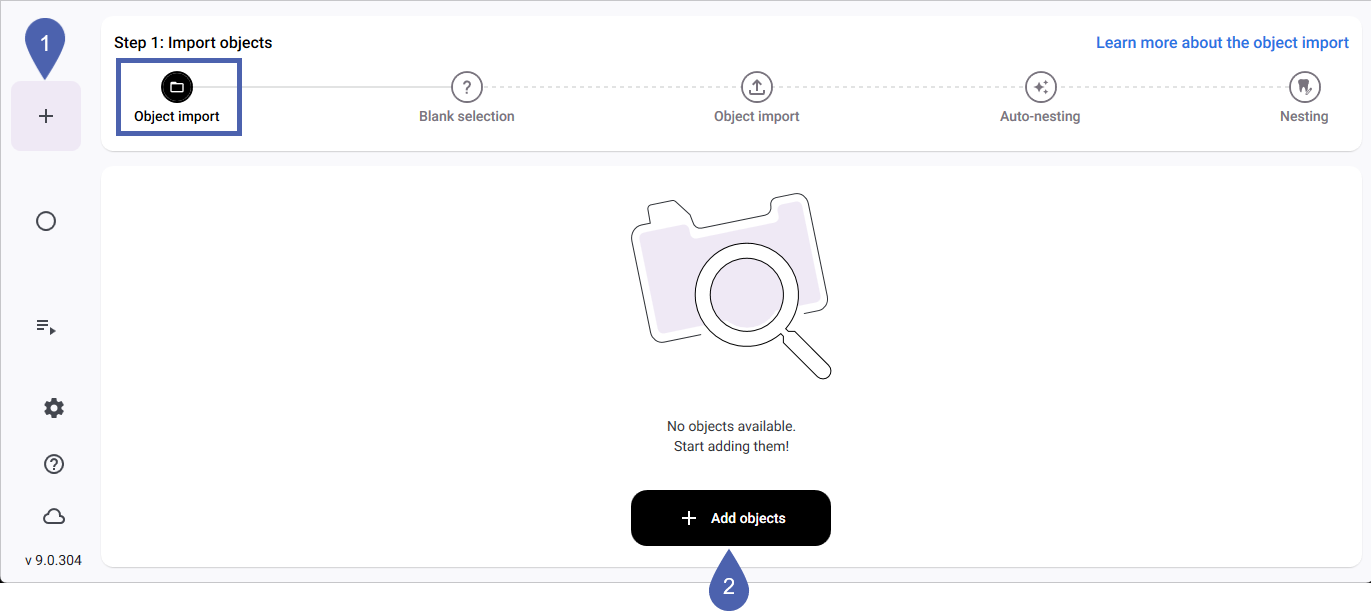
Open the nesting workflow with the following icon in the Main icon bar:

-
The nesting workflow begins with the Object importstep.
-
Select the Add objects button.
-
Select 1 or more files. Depending on the file type selected, the behavior of dentalcam varies:
-
Metadata files: dentalcam automatically imports the associated object files with predefined parameters.
-
Object files: dentalcam imports only the 3D model without parameters.
-
-
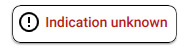
If there is no metadata during an import, dentalcnc displays the note Unknown indication in the Import parameters column.
-
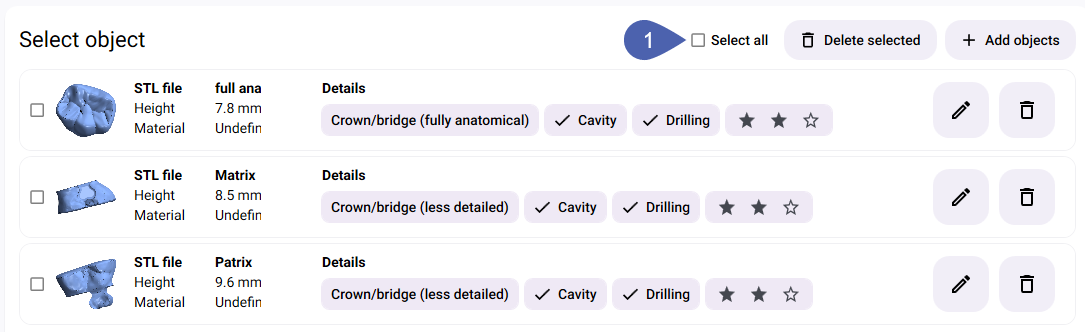
If import parameters are missing, specify them:
In the Details column, select the desired parameter until the selection is correct. You must specify the manufacturing quality also when using metadata.
For an explanation of the import parameters, see Import parameters.
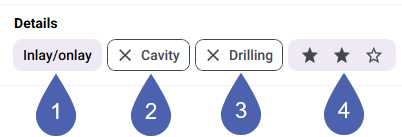
1
Indication
2
Automatic search for cavities (: activated, : deactivated)
3
Automatic search for drill holes (: activated, : deactivated)
4
Manufacturing quality
Option with 3D preview Open the Object details window via the following icon at the end of the respective row:

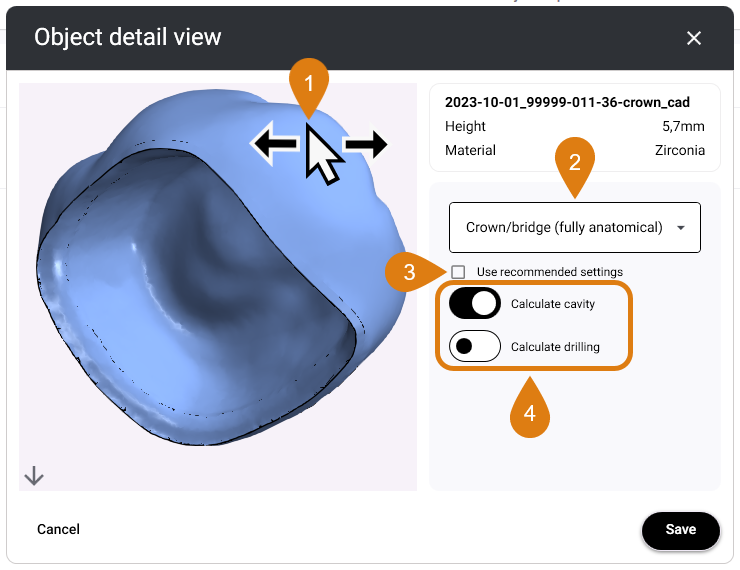
- Check the object by rotating the 3D preview with your mouse.
-
Select the indication from the drop-down list.
-
If you want to change the indication-based default settings for the automatic search for cavities and drill holes, deactivate the Use recommended settings check box and adjust the toggle switches accordingly.
-
To add more items, select the Add items button above the import list.

-
As soon as all the objects you want to import into the next blank have been listed, select the check boxes for these objects.

To import all displayed objects, select the Select all button.
-
As soon as you have selected at least 1 object, the program displays the machine type selection bar at the bottom of the window.

-
Select the machine type for the blank from the Machine type drop-down list.
Blanks are always calculated for a specific machine type and cannot be manufactured on a different machine type after the calculation is complete.
-
Machines with adapters for different material shapes: In the Material shape drop-down list, select whether you want to nest the objects in 1 disc or in blocks. For prefabricated abutments, this selection is predefined based on metadata and cannot be changed.
-
To select or create a blank for the objects, select the button at the far right of the bar.
Example: The user assigns the Crown/bridge (fully anatomical) indication and deactivates the search for drill holes, since the object does not have any. The search for cavities remains active because the object has a cavity.
Directly in the import list