Checking the manufacturing quality in the residual material display
In the residual material display, check the degree of deviation between the original object data and the job data calculated from it. This allows you to assess the expected quality before manufacturing begins.
Requirement dentalcam has fully calculated the objects of a blank.
-
Select the following icon in the Main icon bar:

-
(Optional) Use the filter settings in the left column to filter the blank list.
-
Select Details for the blank containing the objects to be tested.

-
The Blank details view opens.
-
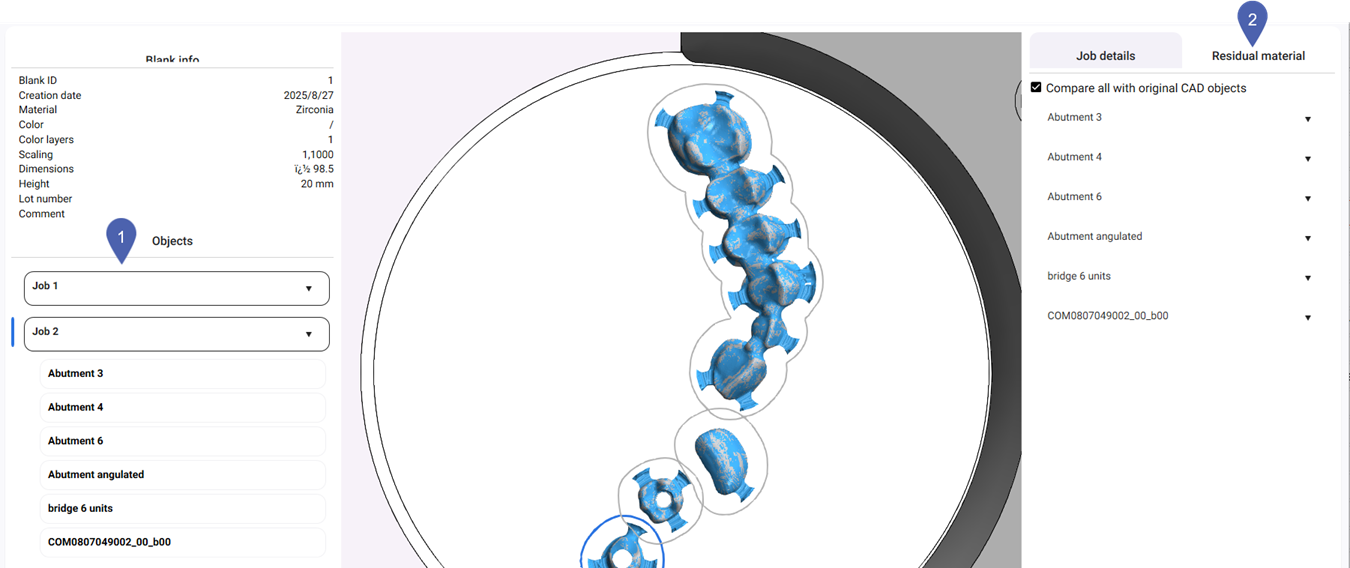
If you have calculated multiple jobs from the blank: In the Objects section, expand the job for which the objects to be checked were calculated.
-
Switch to the Residual material tab.

-
dentalcam displays all calculated objects for the job.
-
Check for slight deviations on the surface.
-
The legend in the upper left corner of the blank display shows the different colors and the deviation values they stand for.
-
The colors of the object surfaces show the degree of deviation.
-
-
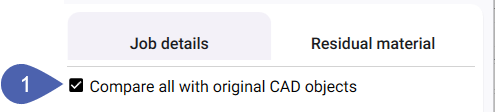
(Optional) To perform a rough comparison with the original CAD models, activate the Compare all with original CAD objects toggle switch.
-
If activated, dentalcam superimposes the original CAD model in beige over the blue calculated object. The beige areas display deviations between the original design and the calculated object.
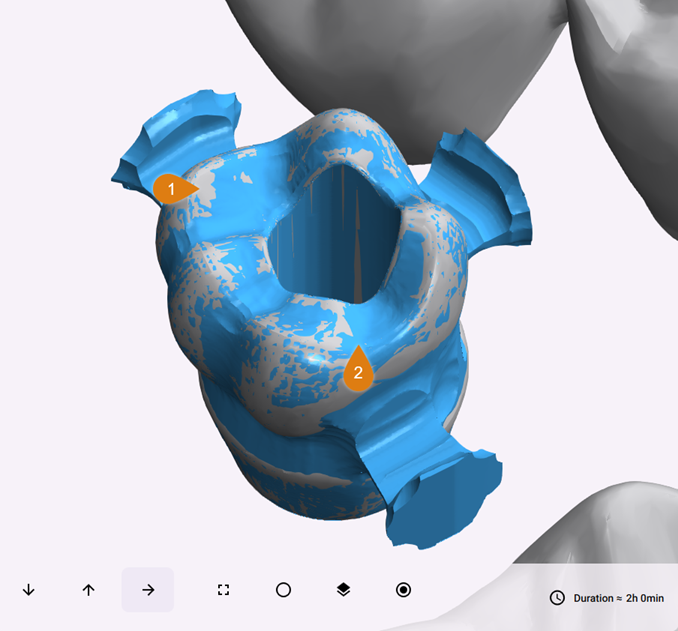
1
Surface of the original CAD model
2
Surface of the calculated object
-
-
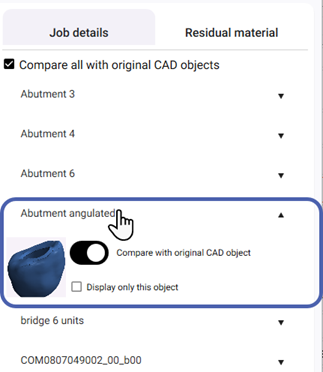
To set the view to a specific object or to activate the comparison with the CAD model specifically for that purpose:
-
Select the desired item on the Remaining material tab.
-
Change the expanded options.
-
-
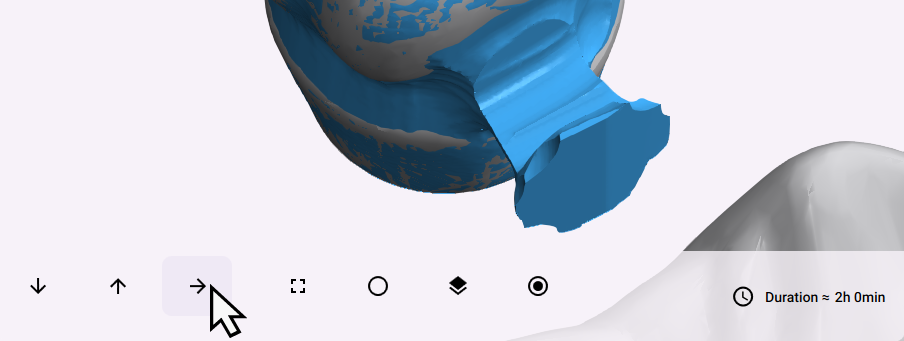
Use the toolbar below the blank display to hide elements and view the objects from the desired perspective.
-
Return to the previous view in the title bar.